Headless Raspberry Pi Setup With Raspbian
The Raspberry Pi is an awesome little computer that can do just about anything. It’s around $35 USD for the 3B+ model, which is the one I prefer to use most of the time. This post will go over how to install Raspbian, configure WiFi, and enable SSH (all without using a monitor, mouse, or keyboard attached to the Pi).
Use the options below to navigate around.
IMPORTANT -> The Raspberry Pi 4 does not support USB booting at this time, you will have to use an SD Card for your boot media. More details below.
Install Raspbian
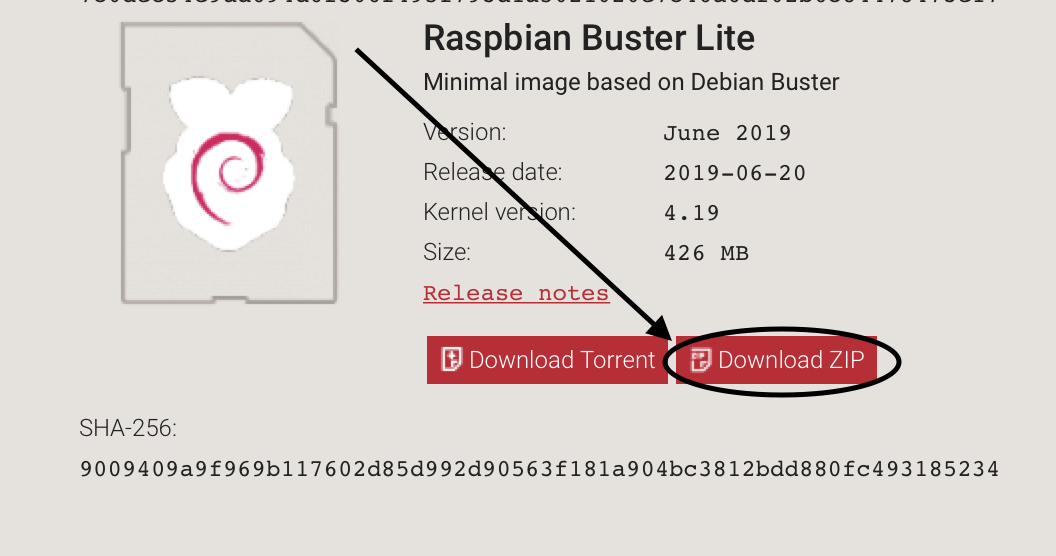
1. Head on over to https://www.raspberrypi.org/downloads/raspbian/, and download the latest image. For this example I will be downloading the ZIP compressed image for Raspbian Buster Lite.

2. Next, we will need an app that allows us to write the image to an SD card or SSD (whatever we will be booting from on the Raspberry Pi). I like balenaEtcher. You can download etcher from here: https://www.balena.io/etcher/.
NOTE: If you have a shiny new Raspberry Pi 4, like I do now, you cannot boot from USB at this time, so you’ll have to use an SD Card. More information, here: https://www.raspberrypi.org/documentation/hardware/raspberrypi/booteeprom.md

3. Open Etcher, or whichever app you picked to write the image to the card/drive.
4. Connect the drive/SD card to your computer. I will be using an SSD with a USB converter.
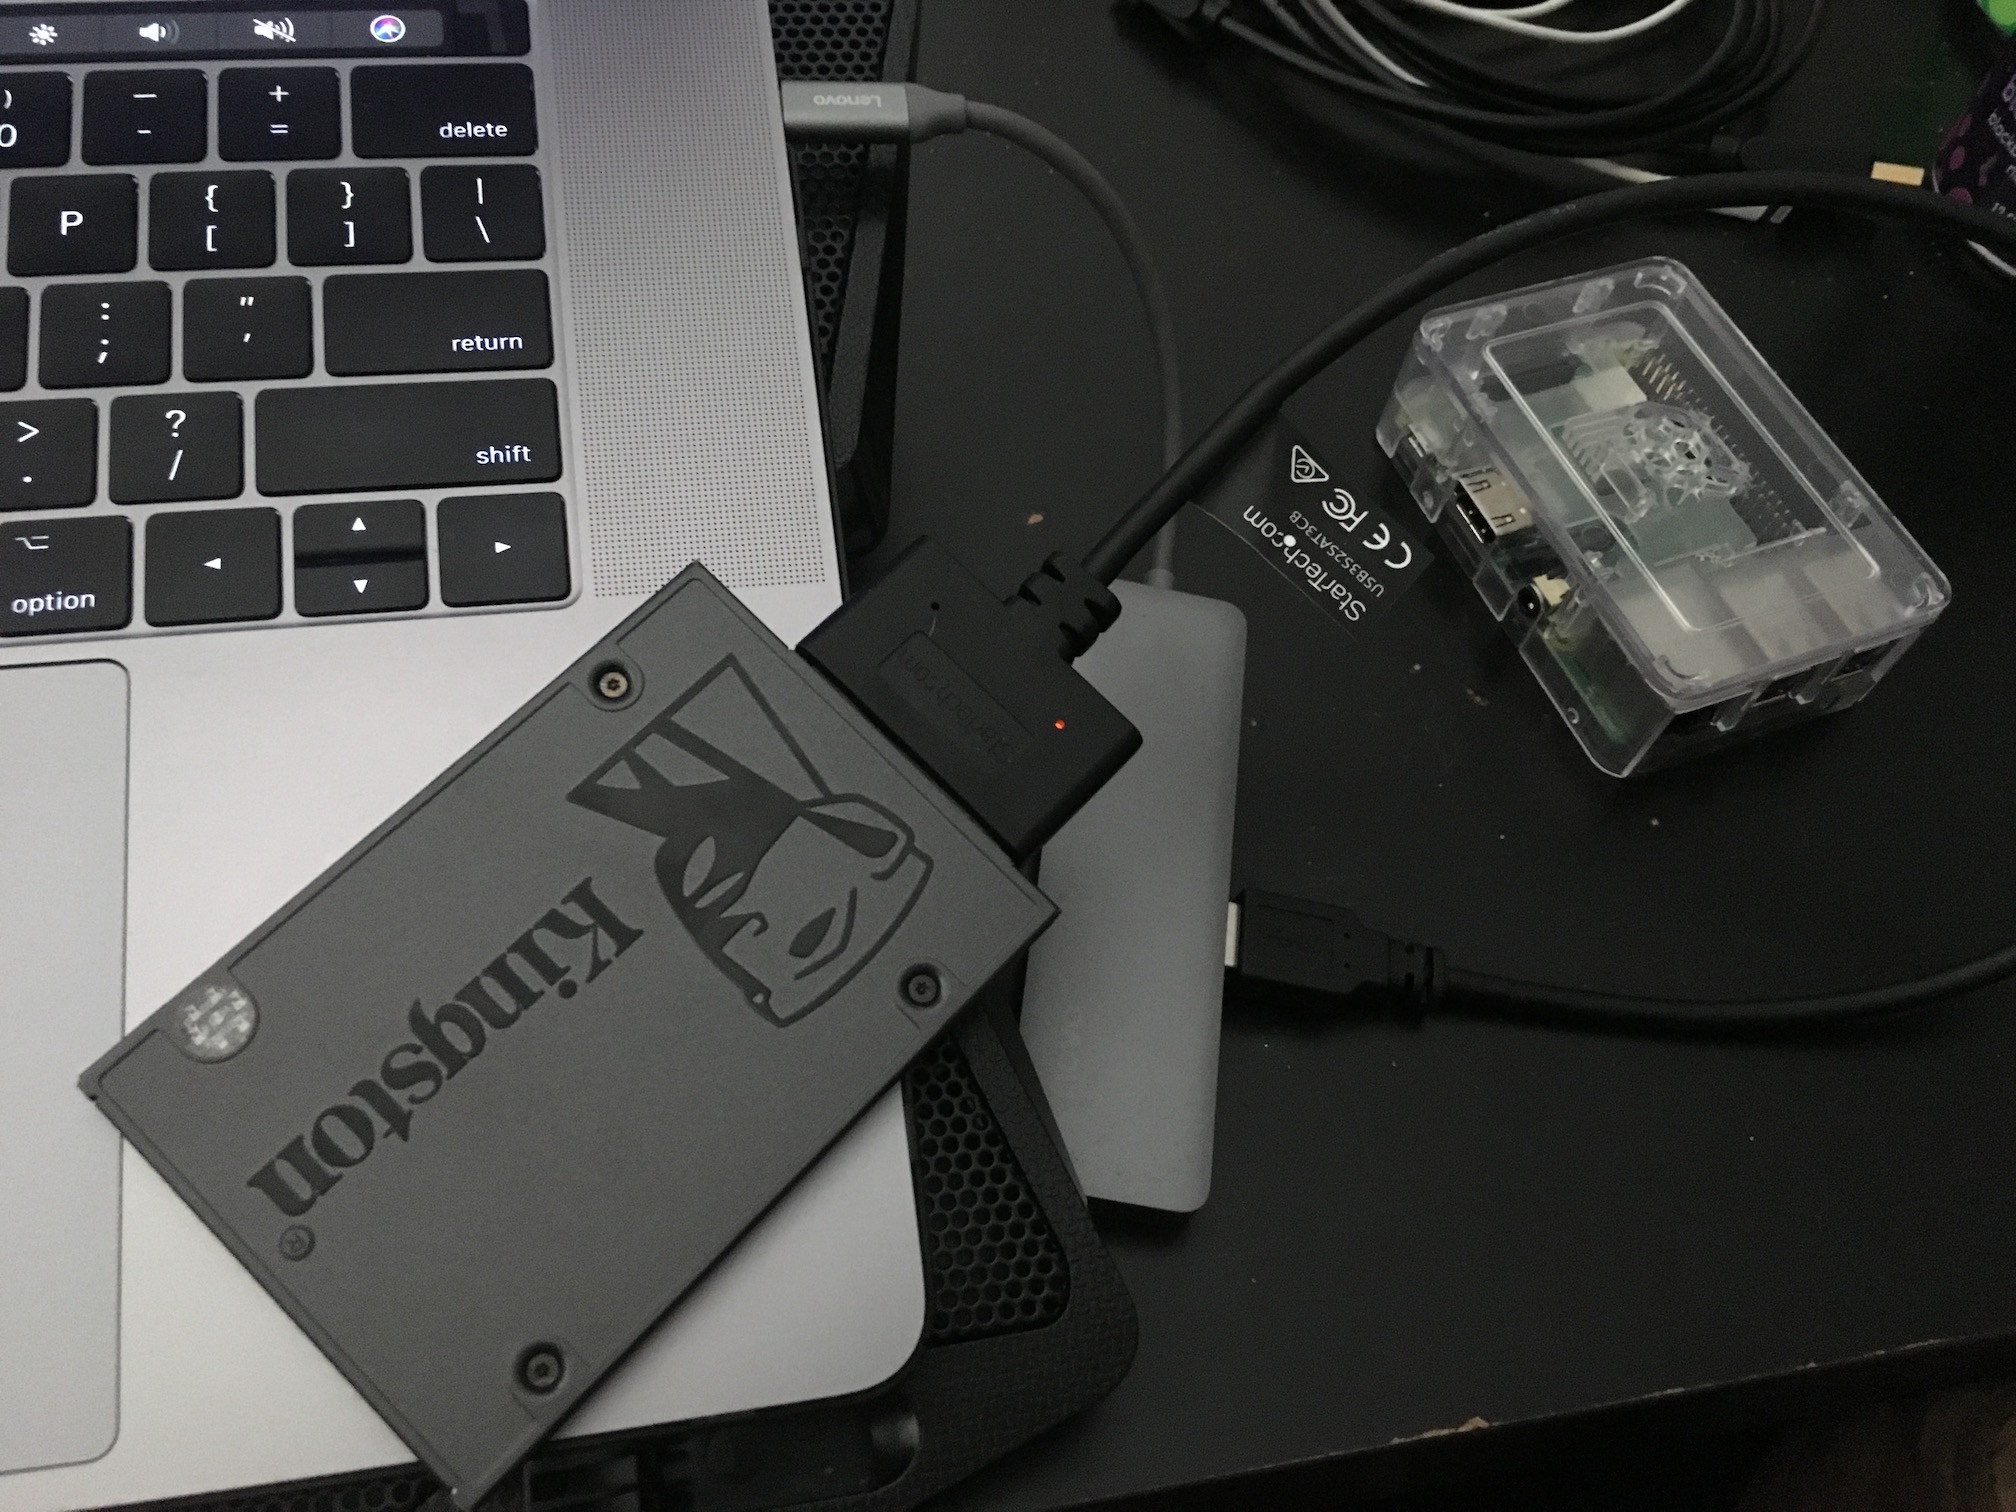
(note) Sometimes the voltage on the Pi’s USB ports can drop and affect the SSD attached. I have not had any problems using an SSD with the above linked convereter, but if you encounter issues you may want to look into a powered USB hub. The Pi 3B+ will automagically boot via USB, but if you have the Raspberry Pi v3, check out this link: https://www.raspberrypi.org/documentation/hardware/raspberrypi/bootmodes/msd.md
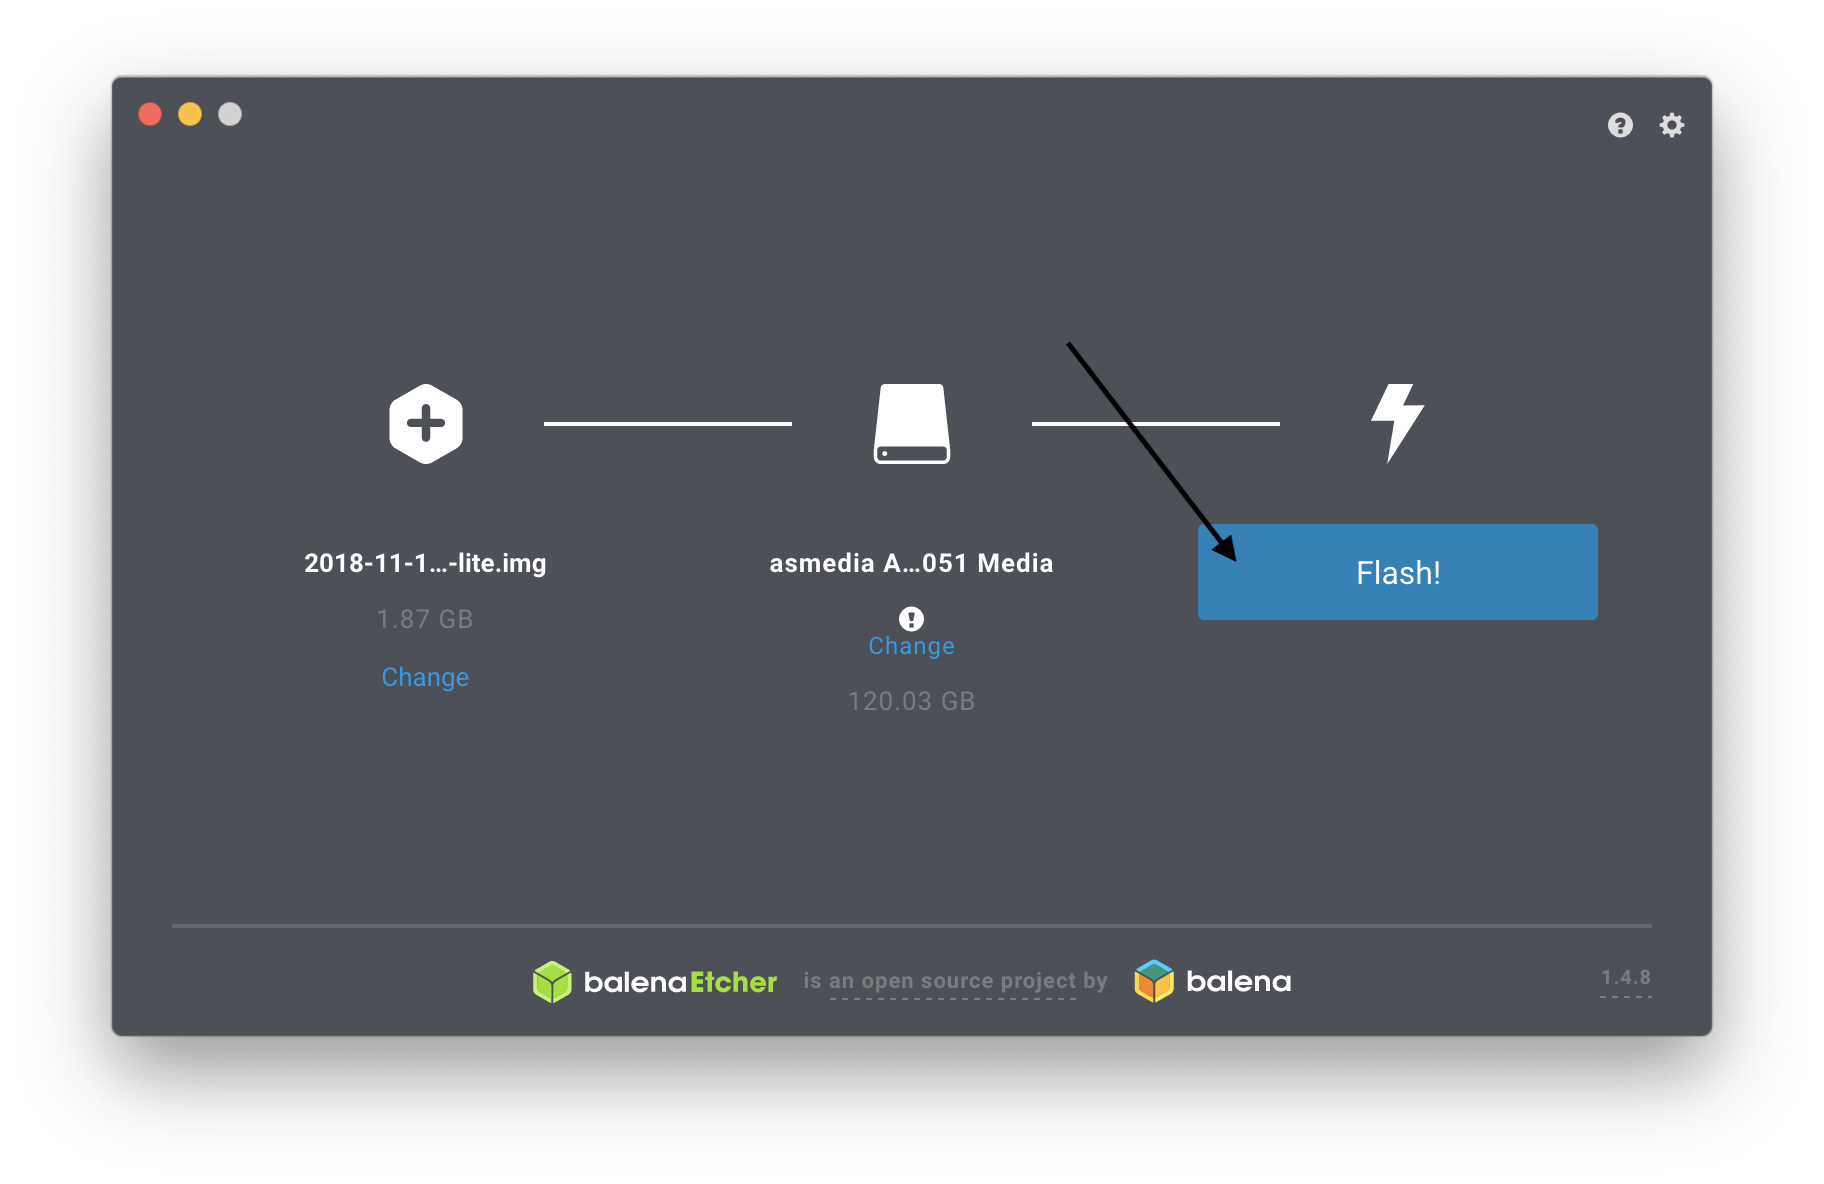
5. In Etcher, select “Select image“.

6. Now choose “Select drive”, and pick the drive / SD card you recently attached, and click “Continue”.


7. Finally, click “Flash!“

Setup WiFi Network Join on Boot
Now we will want to have the Pi join your WiFi network when it boots up. To do this we will create a file that will tell it what network to join, and its password.
1. If you don’t see the boot volume on your machine, safely disconnect and reconnect the SSD or SD card to your computer.
2. You should now see the boot volume attached to your machine.

3. Using your favorite text editor, create a file named wpa_supplicant.conf.
Here is the content you’ll want for the file (be sure to replace the content in quotes with your SSID and password):
ctrl_interface=DIR=/var/run/wpa_supplicant GROUP=netdev update_config=1 ap_scan=1 fast_reauth=1 country=US network={ ssid="Your network's SSID" psk="Your network's password/psk" id_str="0" priority=100 }
4. Save the file/copy it to the boot volume.

Enable SSH on Boot
Next we will be enabling SSH on boot. To do this we simply need to create an empy file named ssh (no extension), and copy it to the boot volume.
1. Create the empty file (you can use Notepad, or any other text editor to do it) named ssh (no extension). For this example, I will use the Terminal app on OSX to create and copy the file.
cd ~/Desktop/ touch ssh cp ssh /Volumes/boot
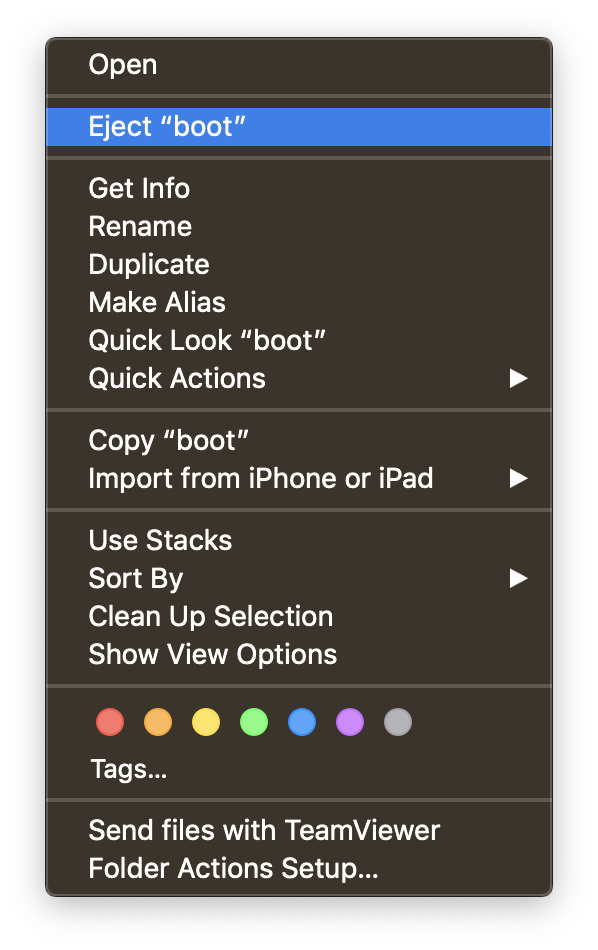
2. Now you’ll want to safely eject the boot volume, and attach it to your Raspberry Pi!
First Boot and Setup
Now we will want to plug the the storage device into the Pi (SD card or SSD -> USB converter), and power it on. Once it boots up we will find the IP address it was assigned from the router, and ssh in to change the default ssh password.
1. Once the storage device is attached to your Raspberry Pi, plug it in to power it on!
2. Log into your router, and look for something called attached devices/devices or DHCP client list. Keep refreshing the list, and eventually you should see a device with the hostname raspberrypi. For more help locating a headless Pi, check out this link: https://www.raspberrypi.org/documentation/remote-access/ip-address.md

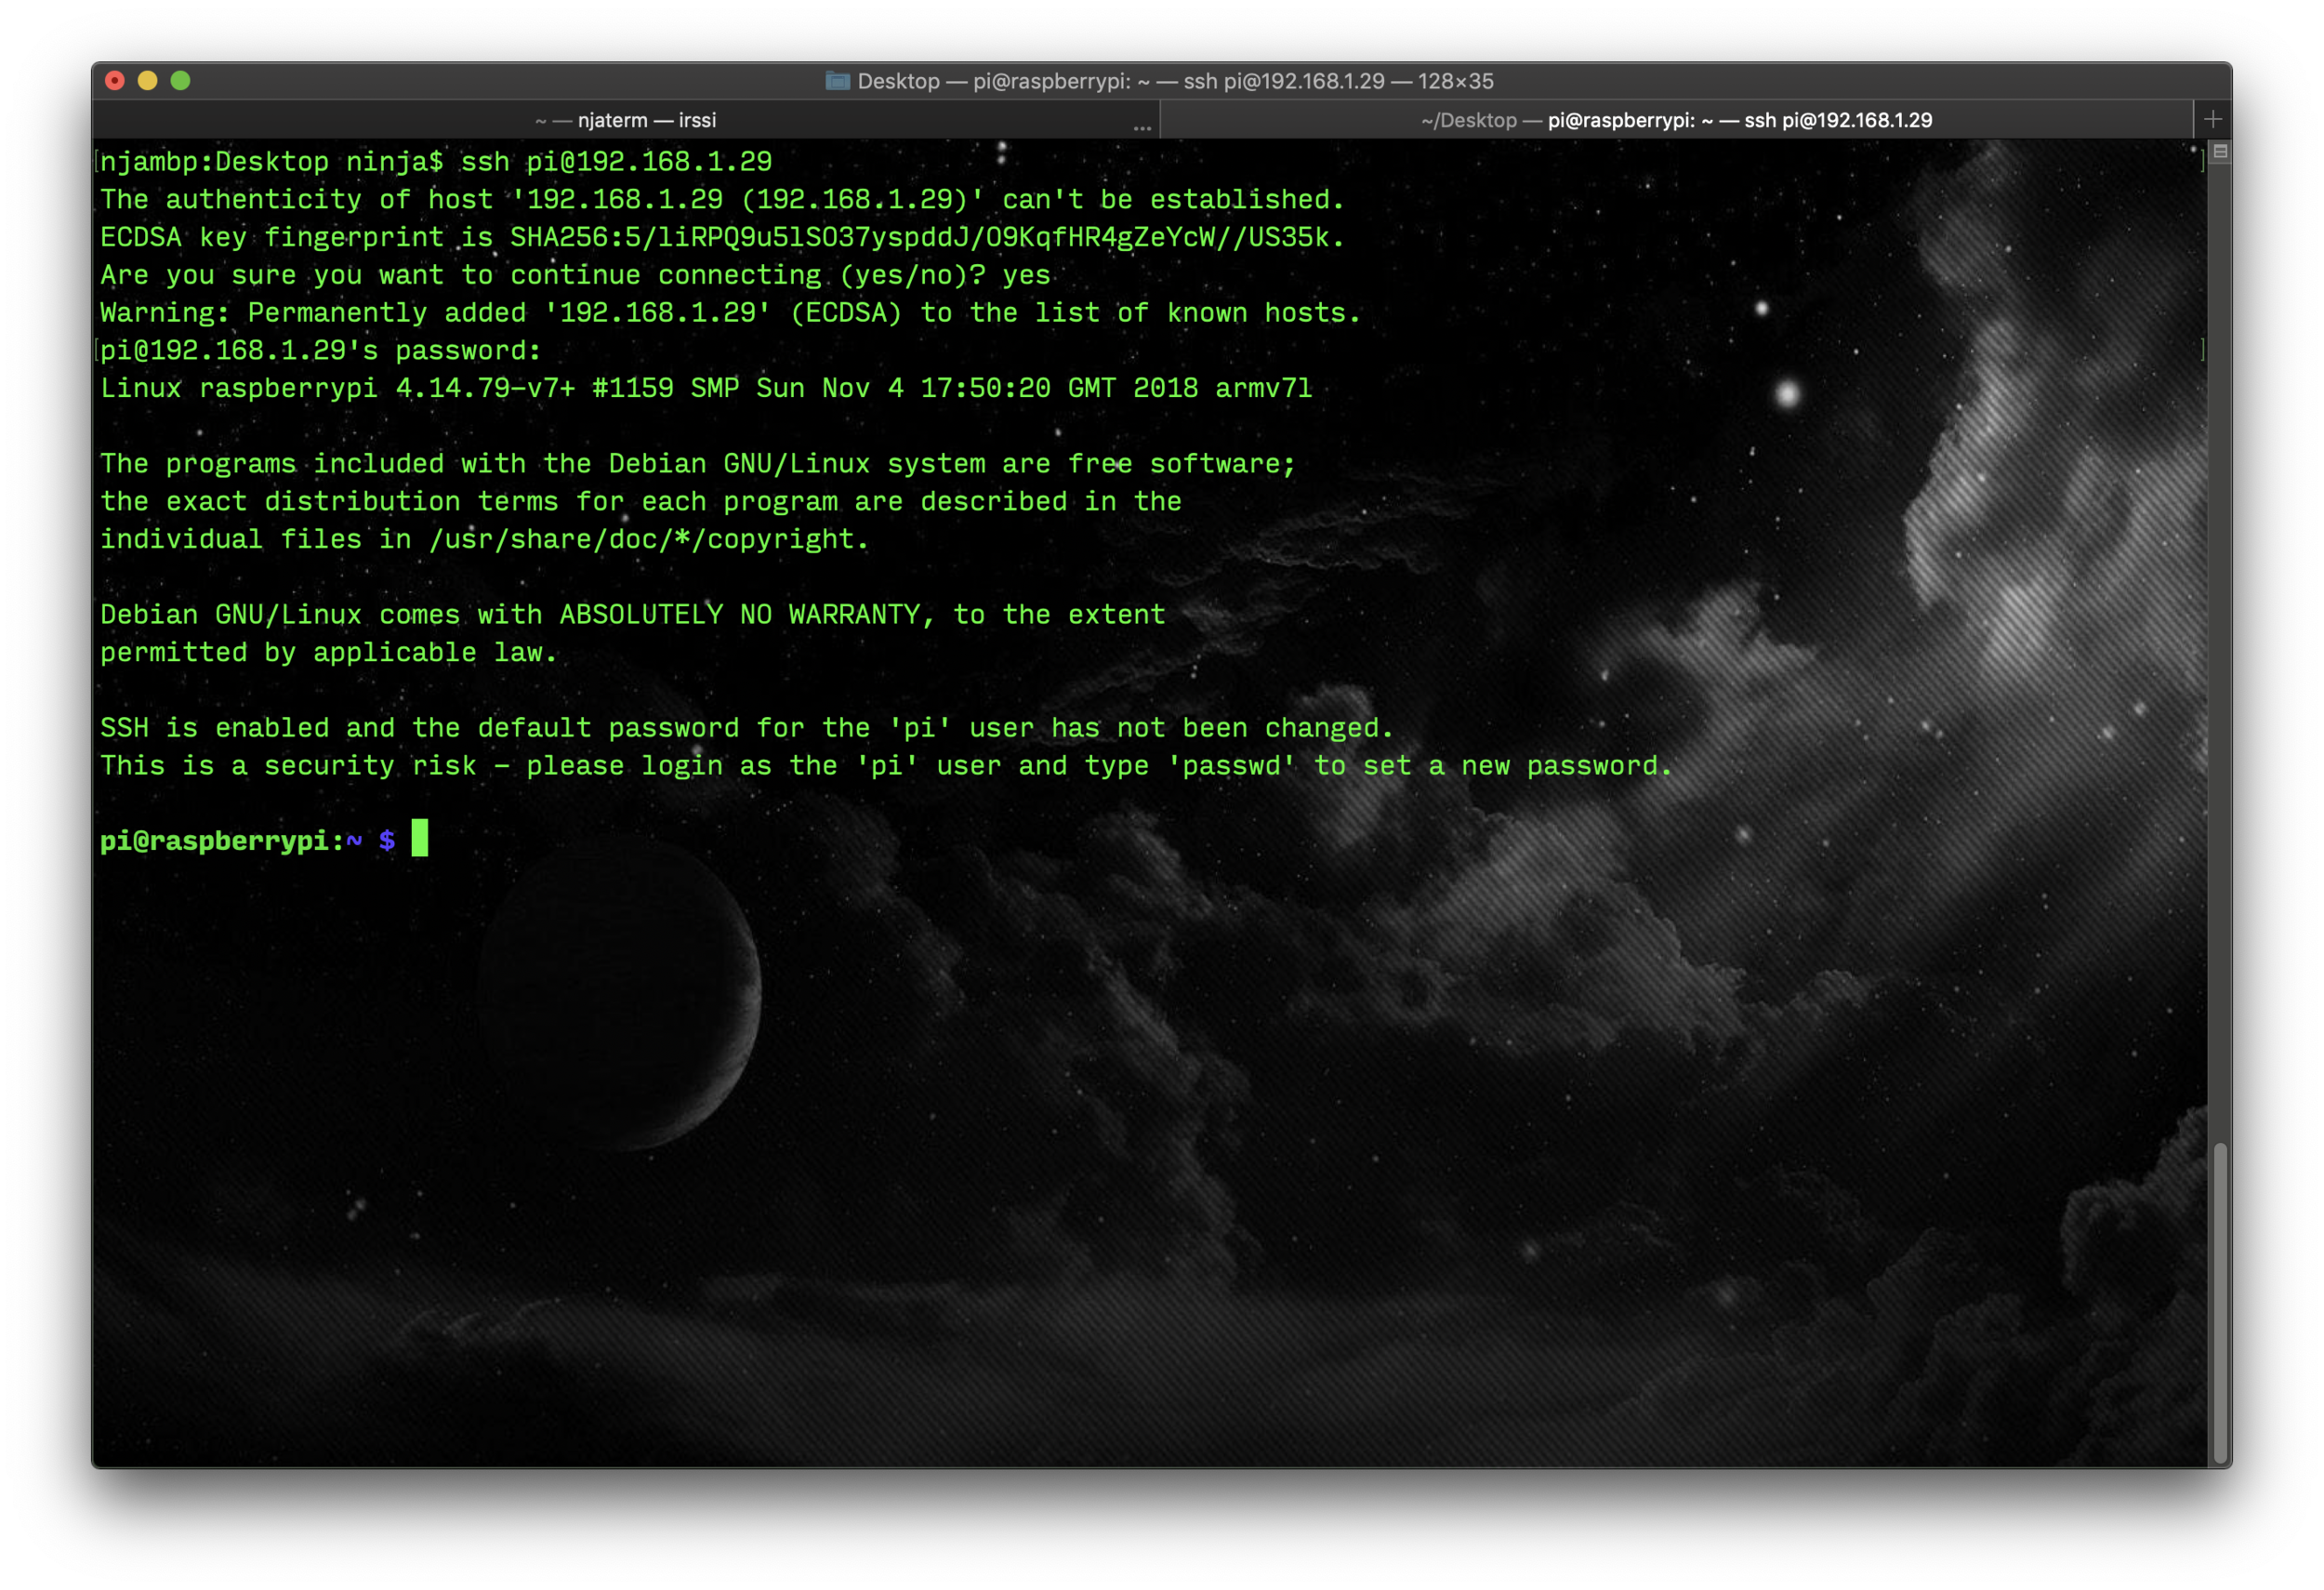
3. Now that you have the IP address, ssh in! If you’re on Windows, and need some help, check out this article: https://learn.adafruit.com/adafruits-raspberry-pi-lesson-6-using-ssh/ssh-under-windows. For this example I will be using the Terminal app on OSX.
The username is pi, and the default password is raspberry.
ssh pi@192.168.1.29If you are prompted to trust the host, type / select “yes”.
When prompted for the password, enter raspberry.
4. The very next thing you’ll want to do is change the default password. To do this, use the command (ensuring you are indeed sshed into the Pi): passwd.
(note) You will first be prompted for the current password, so enter raspberry for that. Then select your new password, and confirm it. You will not be able to see anything as you type them out.

Congratulations!
(well, hopefully)
If all went well, you should now have a Raspberry Pi that boots up and joins your WiFi network. You can SSH in to configure things, and do whatever you need to with the device. The files we created earlier (wpa_supplicant.conf and ssh) are removed from the boot volume after the first boot, so you have nothing to worry about there.
Let me know if you have any questions or feedback in the comments, below!
If you’re looking for something to do with your Pi, why not create a Discord bot and run it off it?